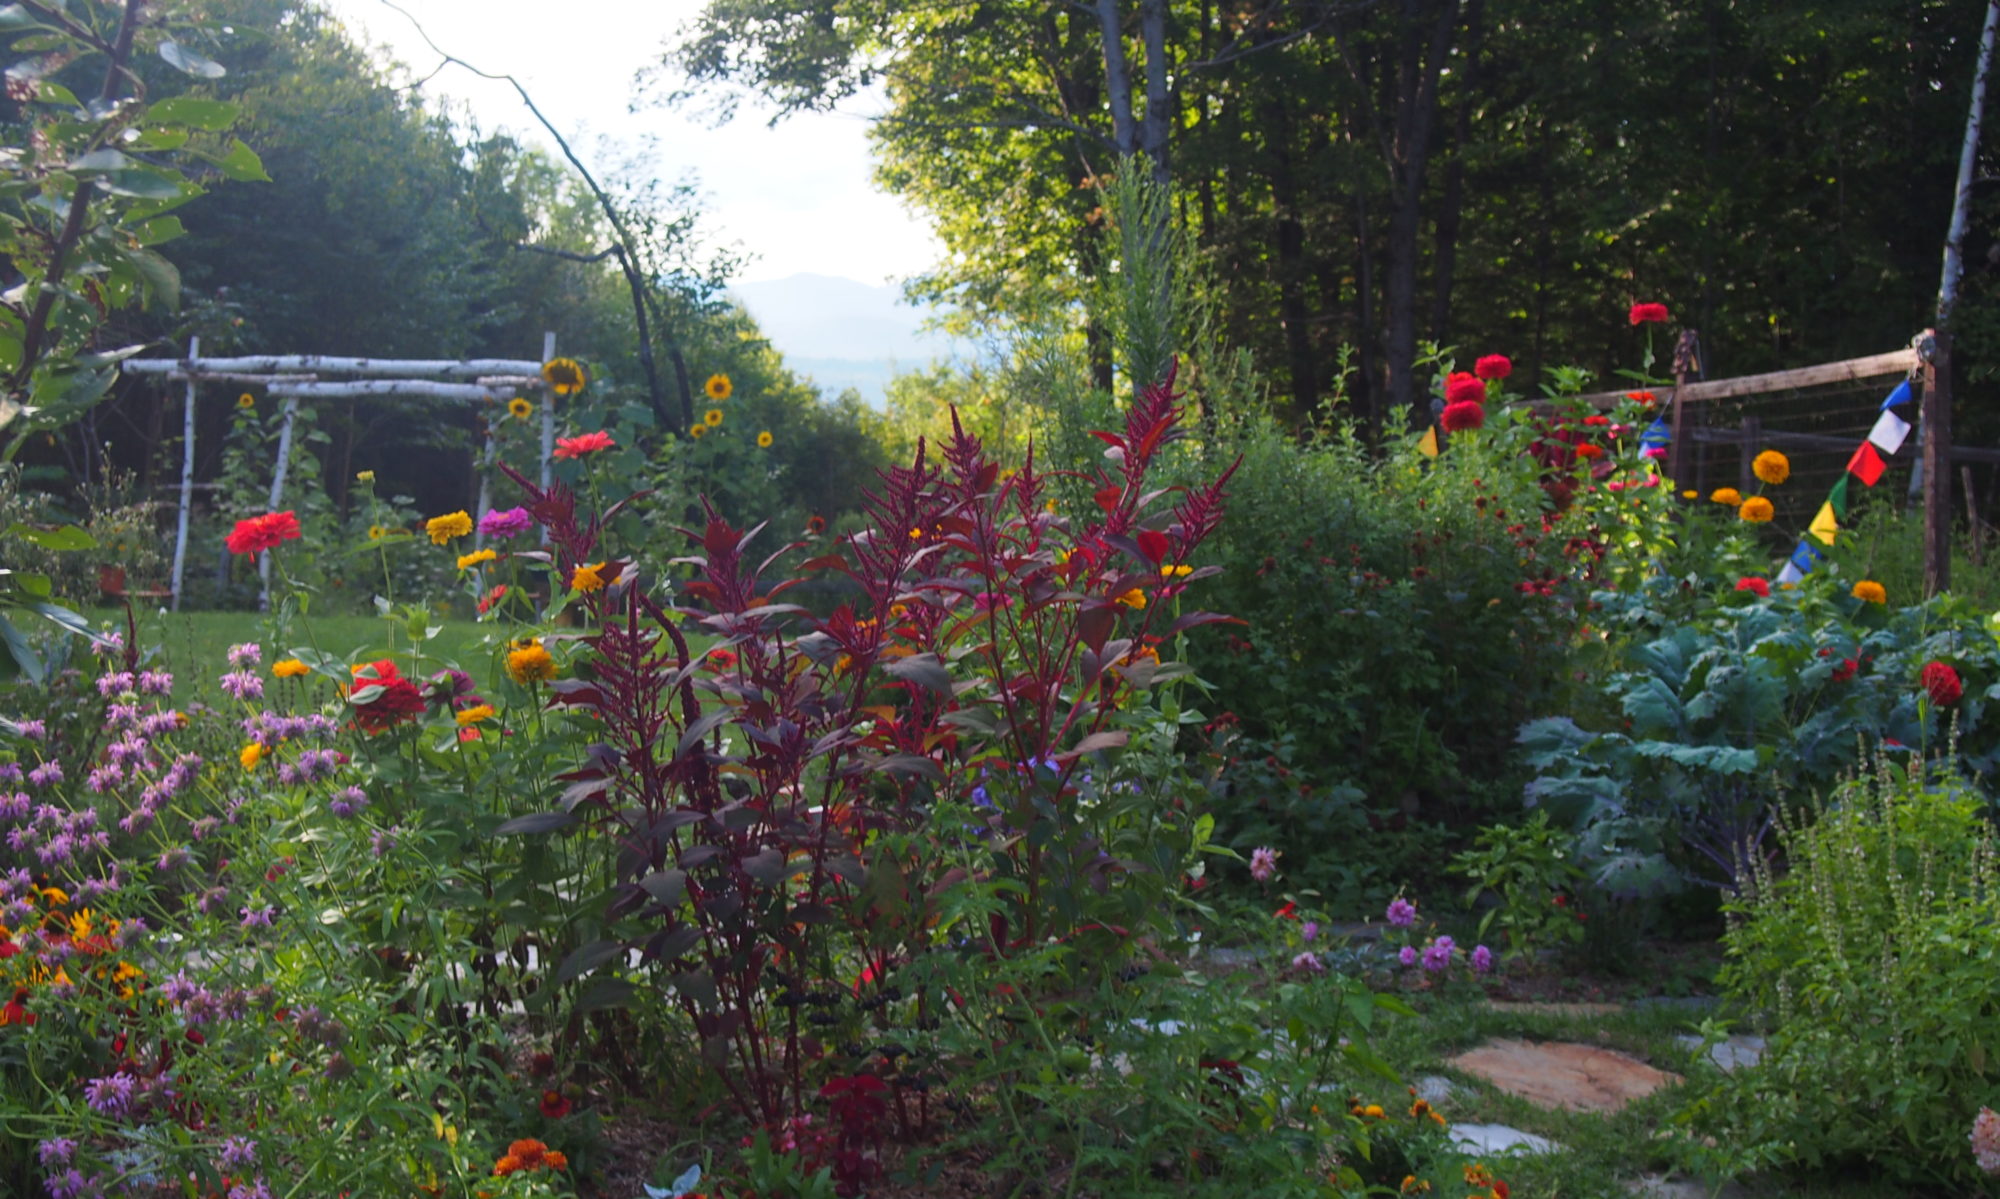

As any experienced farmer or gardener will tell you, keeping frost off of new plants is essential to yields and overall success of crops almost everywhere in the world. One wants to start their plants as early as possible so they grow as large as possible but start too early and they may die or get stunted from an unexpected bout of cold weather.
Sugar Mountain Center is in Vermont and Vermont is cold. How cold is that for plants? Well, it is in zone 4b according to the USDA Plant Hardiness Zone Map and our first and last frosts are roughly May 21st and September 25th leaving only four months of frost-free growing season… not very long! Luckily, with a little bit of ingenuity and planning a plant’s growing season can be vastly extended in a variety of ways, even if they are not frost-tolerant. The most foolproof method is to start plants in a greenhouse.
This, of course, requires a greenhouse.
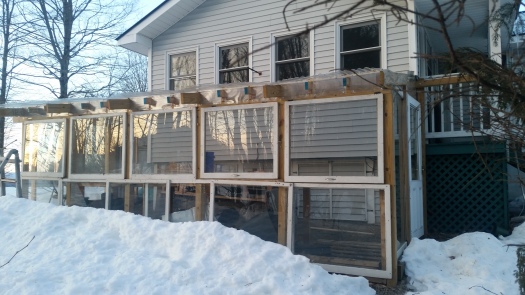
Though good options exist for buying a prefabricated greenhouse, at SMC we wanted something DIY that would add a little bit of character and reduce cost. Therefore, a greenhouse made from recycled windows seemed like a perfect project!

After a few months of combing local publications and craigslist, we were able to acquire all the glass we needed from free from the surrounding community. So much glass in fact, that we decided to add a special alcove with a full-sized bathtub/shower. This inspiration came from a similar “glass shower” that existed at Smoky Mountain Center in North Carolina. The heat and moisture from the shower coupled with floor-to-ceiling glass worked so well that it became our de-facto greenhouse.
Step-by-Step Guide to Building a Greenhouse from Recycled Materials
What you will need:
TOOLS
- tape measure, level
- post hole digger
- shovel
- hammer
- drill
- ratchet set (for lag bolts)
- Drill bits
- 12″ drill bit (for lag bolt pilot holes)
- saw (circular or mitre)
- speed square
- ladder
- pry or crow bar
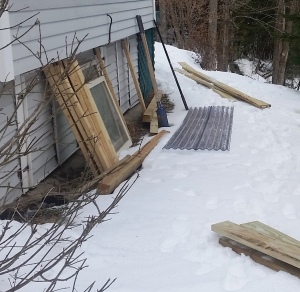
*MATERIALS:
- Lots of windows
- Lumber
- A door (or two)
- Nails
- Lag-bolts
- Screws
- Clear Roofing Panels (most likely you will need to buy these)
*Your building materials may be different than ours based on what you can find in your community! Craigslist, community forums, freecycle, thrift stores, habitat for humanity restore, and even your local dump can be great places to find materials.
1. Designate an appropriate site with adequate southern exposure, light, and good drainage.
We decided to build a lean-to style greenhouse with the wall of our house on the north side. Though there are a few deciduous trees on the southern edge  of the yard, the sun shines through the bare branches during the winter months, and by the time they have leafed out the sun rises higher on the horizon and they are not an issue. Make sure to observe how the sun, wind, and water impact your land over time before beginning any permanent building project.
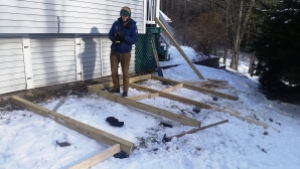
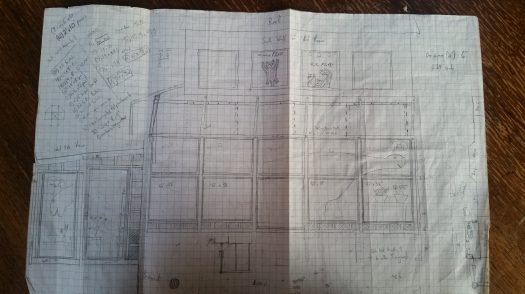
2. Dig post holes in correct locations- For us this was 8′ from existing wall by 4′ apart. We determined the size and shape of our greenhouse based on the glass windows and doors we had available as well as the length of the wall the greenhouse would be connected to. Be sure to gather and measure your materials and space first, and then you can calculate the exact dimensions your unique frame requires.
*It is recommended to always bury 1/3 of your post height in the ground. Exact depth recommendations can vary depending on your climate and soil type.
3. Insert posts into holes and level (try to keep posts same height).
4. Concrete posts and allow to set.
*Caution if building in winter: Concrete takes longer to set in cold weather and if it is too cold I could potentially freeze. It is best to wait for a warm spell, though there are methods for protecting concrete while it sets.
5. Place horizontal post or “top plate” on top of posts and ensure level. To secure, drill a pilot hole through both the post and top plate and secured with lag bolts.
6. Build nogging between posts for rigidity and to allow places to fasten windows which will form the wall.
*Only put as much framing as necessary to keep your design structurally sound and allow places for windows to attach.
 attaching a post horizontally 1 foot higher than the top plate to the exterior wall of the house. To attach the nailer board, lag bolt the post into studs within the existing wall.
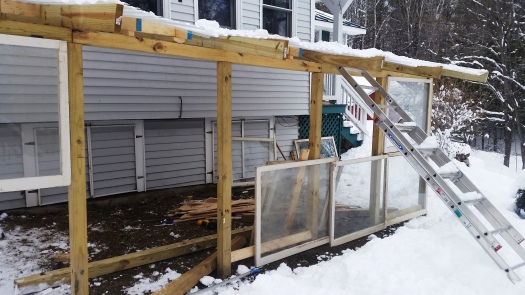

11. Install door in de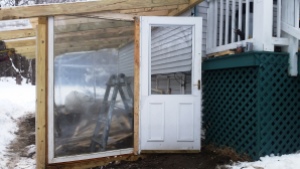 sired location and frame remaining wall with windows. Build a wooden frame using 2x4s to the dimensions of the desired door, being sure to leave enough space for door to fit within it.
12. Seal cracks using insulating foam for large spaces and clear silicone caulk for small spaces.
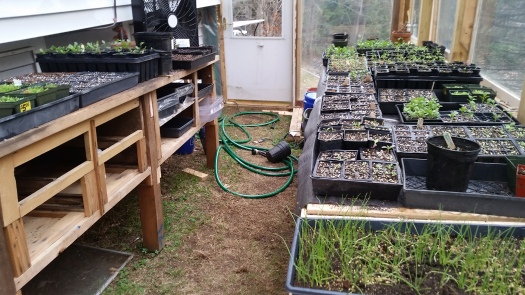
13. Construct or find tables to elevate plants to ideal height. It may also be necessary to level the ground before you install tables. If you happen to have some gravel handy, spread an even layer on the ground to both suppress weeds and improve drainage.
14. Grow!

More detailed information on building a “glass shower” to come in a future post.

We would love to hear from you! Contact us to learn more, share your own stories and tips, or to schedule a consultation or training.


You must be logged in to post a comment.