For the urban, suburban, or rural home
I’d like to kick off our series of “how-to” blog posts with a perhaps underappreciated topic: home composting. I have recently taken to noticing how rare the practice still seems to be. I have been to urban homes, suburban homes, rural homes, homes of self proclaimed environmentalists, activists, and conservationists where precious egg shells, onion peels, and half eaten sandwiches go straight into a messy, smelly trash can. Despite being a super easy and common sense tool for both waste reduction and soil building, somehow, it is still not a regular part of our routines.
 So why don’t we compost? Landfills are overflowing and soil is being destroyed all over the world, yet we continue to divert food scrapes and their nutrients unnecessarily into landfills rather than replenish the soil beneath our feet. Composting turns our own waste into a useful product right in our own home or yard. It is one of the most common sense ways to reduce our impact and its easy! We should all be doing it!
The following guide will explore reasons we don’t compost, and provide easy options for anyone to compost, no matter whether you live on a farm, in suburbia, or a high rise apartment.
In talking and learning from others in various circumstances, what I have come to find is that there are still many misconceptions and confusions around composting. Many of us have found reasons that composting just isn’t practical for us. This blogs purpose is to prove this notion wrong; composting is practical for everyone! Regardless of where or how you live, composting can be easy, neat, odorless, convenient, and useful.

Lets take a moment to explore some common questions, confusions, and misconceptions that prevent us from composting. By the end of this post, I hope you will see how simple and sensible composting can be!
Lets start with a tiny bit of Science:
Organic matter (food/yard waste) is broken down by microorganisms (bacteria, fungi) into a simpler substance (soil). Microorganisms, with the help of worms and other beneficial ground-dwellers, consume organic waste and excrete nutrients that plants need to grow (Nitrogen, Phosphorus, and Magnesium).
When we set up a home compost, we need to manufacture an ideal environment for microorganisms to thrive (oxygen, warm temperatures, and nutrients). Then those microorganisms will kindly do all the work of breaking down our waste for us!
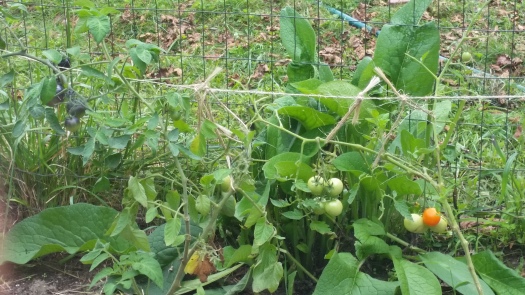
THE CYCLE OF NUTRIENTS: Lets take for instance, a head of broccoli.
The broccoli takes nutrients up from the soil through its roots as it grows, helping it develop the delicious flavor and nutrient-rich qualities that keep us humans healthy.
 When we pick that broccoli, the nutrients are removed from the soil along with the plant.
 When we throw away our leftover scraps the nutrients are disposed of too, sitting in a sealed landfill somewhere surrounded by lifeless seas of plastic and styrofoam.
 But, if we compost our broccoli instead, we return the nutrients into soil as they are broken down by microorganisms, which we can then use to replenish our gardens, thus aiding the cycle of life!
“This all seems very complicated. What do I actually need to DO?”
Not much! If all this science talk is hurting your brain, don’t worry about it! All you need to do is find a vessel for your compost (a bin, a bucket, a hole, or even just a pile…read on for compost system options and ideas) and provide a balance of “green” and “brown” material in your compost.

“Greens” = nitrogen rich material: food scraps, cut grass manure, egg shells, coffee grounds, plant trimmings/weeds
“Browns” = carbon rich material: dried leaves/plants, sticks, straw, hay, twigs, pine needles, sawdust, wood chips, newspaper
It is usually recommended to put 3 or 4 parts brown to one part green (brown:green – 3:1 or 4:1).
In layman’s terms, if you throw in one handful of veggie scraps then top it with 3 handfuls of leaves. That’s all there is to it!
“This seems like a lot of work. I’m busy enough”
Composting can be as simple as throwing your food scraps in a pile, and covering it with leaves. You can turn it if you want to, you can add water occasionally, but you don’t really have to do anything.
Seriously it is SO SIMPLE:
- Put your food waste in your compost pile
- Throw a bunch of leaves, sawdust, or newspaper shavings on top
- Every so often turn the pile and add some water
- And…that’s it! You have successfully composted!
“OK maybe composting isn’t complicated, but it is gross and smells bad!”
 Composting only smells when done incorrectly, and it is far from gross. If anything, it saves your garbage can from becoming full of leaky drippy molding food waste. As long as you remember to top your waste with some browns, you shouldn’t have any issues.
“But a compost pile would be an eyesore in my yard” There are SO MANY different ways to create and organize composting systems. If you want your compost to be neater and trendier than just a pile in the corner of the yard, or even if you don’t have a yard, read on. Here are a few different simple ways you can compost:
The basic backyard compost bin: You can find designs for backyard compost bins from as simple as a box made out of wood, to complicated and stylish systems utilizing all sorts of materials; wood, wire, trashcans, milk crates, cinder blocks, barrels… here are a few creative ideas
You can spend hours online sorting through all sorts of interesting designs; if you have the time and the creativity, go for it! BUT you don’t have to build anything complex in order to compost.
Here is the compost bin I built:


It is an extremely simple design that anyone with a hammer and a couple nails can put together. I basically just made a box out of wood. It isn’t fancy, it doesn’t even have a lid. But it keeps things neat and does the job.

I keep a holding unit made of chicken wire next to my compost bin filled with leaves that I rake up in the fall. Every time I dump a fresh bucket of compost in the bin, I top it with a large handful of leaves. This helps provide that balance of “greens” and “browns” I mentioned earlier, keeping the compost from smelling, and helping it break down faster.
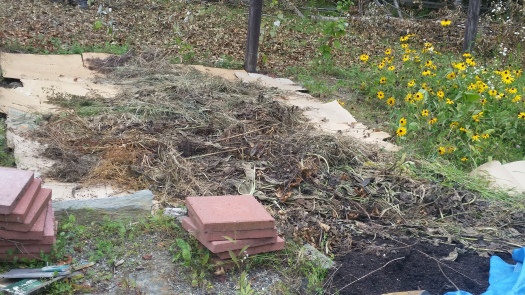
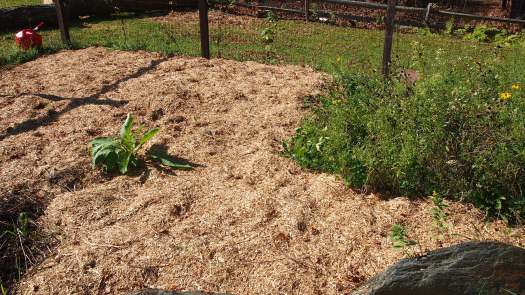
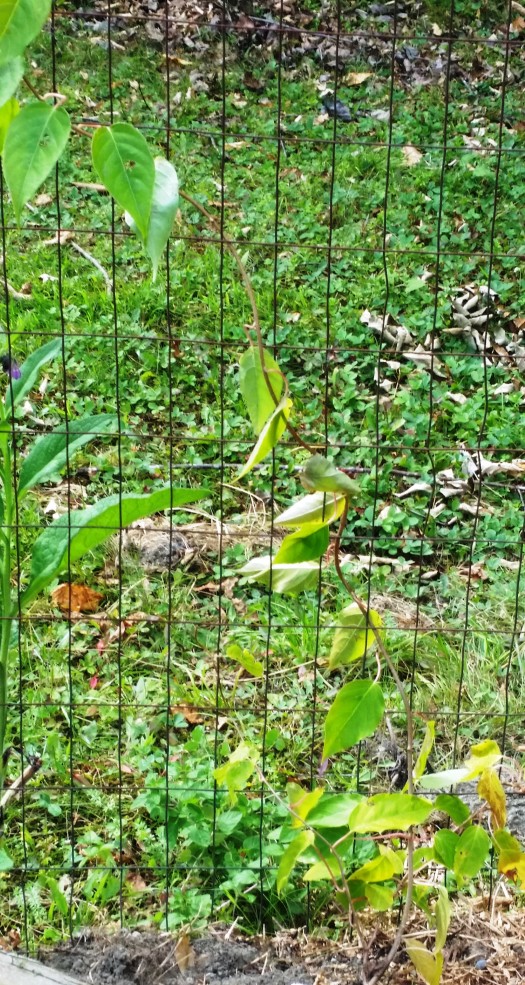
Composting in place: You can save yourself even more work by composting “in place” by layering browns and greens anywhere you want to have a garden! Start by placing a layer of cardboard on the grass or build a raised bed, then layer compost for a season (browns and greens). Next year, plant the bed and move your compost to a new spot OR your garden bed from last year.

“I don’t have the space! I live in a tiny apartment” Whether you live on a farm or in a high-rise apartment, there are ways you can compost your food waste anywhere. It may take slightly more thought to compost in an urban environment, but not much. There are several methods that can be easily used to compost in limited space:
The store-bought composter: If you don’t want to DIY or are uncomfortable with the idea of a compost pile or even if you live in an apartment with only a small balcony, you can purchase a store bought tumbler. There are various styles and designs. I have used this type to positive effect:

Just dump in your waste, add a few leaves, some straw or some newspaper, and turn. easy peasy! Aside from the many benefits of compost, for many people this option will greatly reduce the mess and smell of food waste in the garbage where it will stay until it is removed some days or even weeks later. It is discrete, self-contained, blocks all odor, and works quickly.
The Vermiculture: Vermiculture uses worms create super nutrient rich soil. It is surprisingly cleanly (you do not see the worms), doesn’t smell, and is really cool! The drawback is that unless you have the capacity and space for a giant vermiculture project, it can only accommodate small amount of waste at a time and you can’t compost everything. There are great store bought vermicultures you can buy that are compact enough to fit even in a city apartment. Some are even pretty stylish:


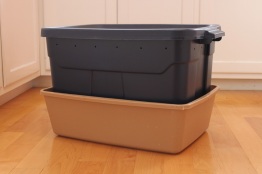
Build a DIY indoor composting bin:
-
-
-
- Get a large container and poke some holes for aeration on the bottom and top. Be sure to put something underneath to catch any water that drips out.
- 2Put a few inches of soil in it and add some shredded newspaper.
- Add food waste as you as you accumulate it and top with newspaper and a cup of soil each time.
- Add a few sprays of water occasionally if it seems dry and turn it once a week.
Once it is full you can use it to plant flowers or some indoor greens! Or give it to a friend who gardens, they will certainly thank you!


Take your compost offsite: If you live somewhere where you really have no space to compost in your home, you can store it in sealed 5 gallon buckets and take it elsewhere. Neighborhood community gardens will likely take your compost gladly. Many cities and towns now have commercial composting programs where you just separate your food waste just like you do your recycling and have it taken by the trash collector to industrial composting facilities.
Tips and tricks:
-
-
-
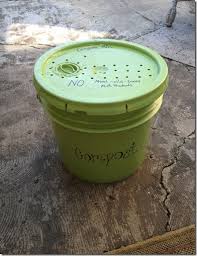
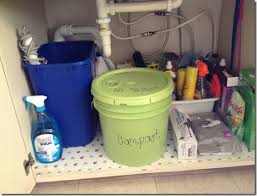
- Keep a small airtight compost container in your kitchen for convenience and style
- If it is a long walk outside to your compost pile, keep a 5 gallon bucket under your sink or right outside your backdoor so you only have to walk to the pile once or twice a week.
 Before composting your food waste, try freezing veggie scraps and chicken bones and reuse them for to make stock. Just dump a bag of frozen scraps in a pot of water, add some salt, pepper, and a couple bay leaves and simmer away! Your kitchen will smell like warm soup. And you can still compost the remains when you are done!
For the more advanced composter, try these ideas:
Incorporate chickens into your backyard compost system! Chickens will poop in your compost bin adding slow-release nitrogen and aerate the compost as they run around in your compost, having fun looking for worms to eat. It’s a win-win! This will super-charge your compost; increasing the speed and quality of your compost while reducing your need to mix and aerate your pile.

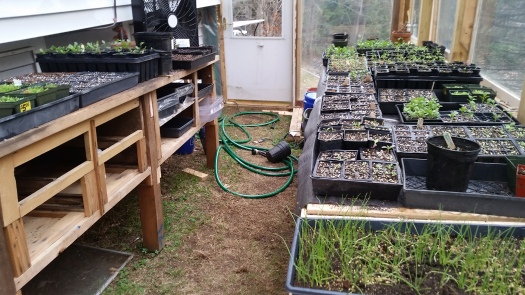
Learn how to use a hot compost bin to heat a small greenhouse!

I hope the information above has convinced you how easy, cleanly, sleek, and practical composting can be. If you have further questions feel free to get in touch with us. We would be happy to answer questions or schedule an onsite consultation to get your started with this or any other project!


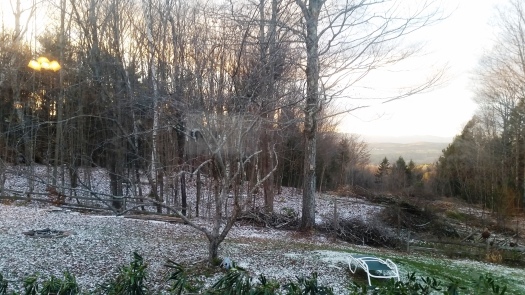
 of the yard, the sun shines through the bare branches during the winter months, and by the time they have leafed out the sun rises higher on the horizon and they are not an issue. Make sure to observe how the sun, wind, and water impact your land over time before beginning any permanent building project.
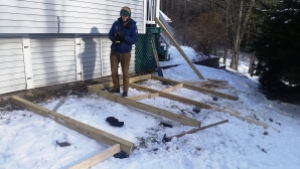

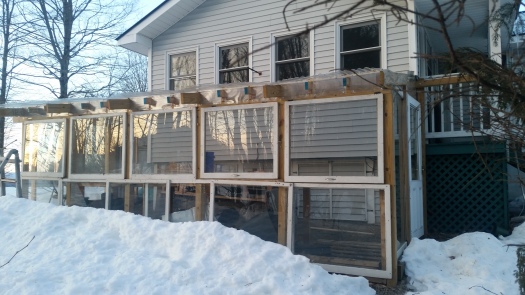
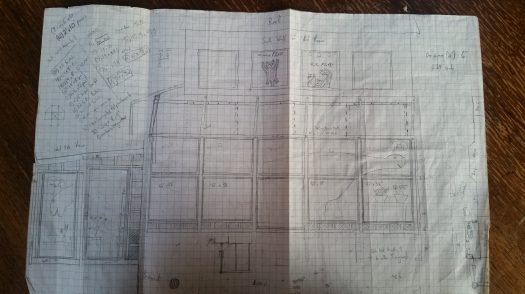
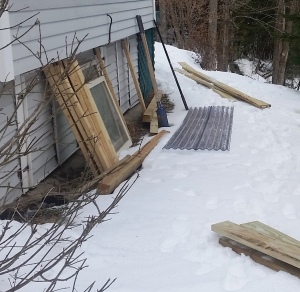
 between posts for rigidity and to allow places to fasten windows which will form the wall.
 attaching a post horizontally 1 foot higher than the top plate to the exterior wall of the house. To attach the nailer board, lag bolt the post into studs within the existing wall.
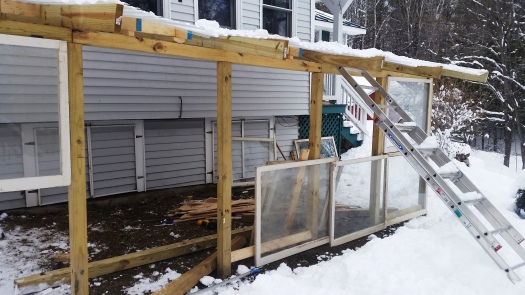

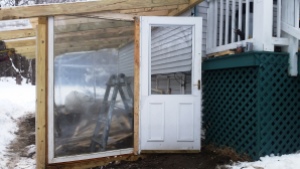 sired location and frame remaining wall with windows. Build a wooden frame using 2x4s to the dimensions of the desired door, being sure to leave enough space for door to fit within it.


")


")
")
")


 make a living helping others has been truly inspiring. For me, it is the reason I do this.


 several steps in that direction. Half of this year’s program focuses on continuing to develop food access and food security projects in the communities of Western North Carolina, and that commitment is reflected at the homestead.
 as just picked off the plant minutes before versus trucked for days across country. It just has so much more nutrition and energy in it. Sometimes we get more produce than we can eat in a short time from our gardens, so Heather has taught us how to can and pickle vegetables, and another fun community day project centered around fermentation so it’s all come together really well. We even got to meet Sandor Katz, the famous fermentation revivalist!
 barter from your local farmer, or through gleaning. We will never need to buy butternut squash or bok choy again!
You must be logged in to post a comment.