
We humans tend to like things organized. We organize our homes, our schedules, our meals, our whole lives. It’s only natural that we would be inclined to organize our landscapes.
When we think of gardens we tend to think of neatly weeded straight rows arranged by crop, or a few flowers placed at uniform intervals with large empty spaces between them. But, if you have ever taken a stroll through the woods you probably noticed that nature doesn’t organize itself quite so rigidly. Nature is diverse, complex, integrated, and flowing. Webs, spirals, rings, branches; these are the shapes that make up the natural world.

If our goal with gardening is to provide food, beauty, and increase ecological health- then we need to create gardens that look, feel, and act more like nature. Perhaps the time has come to reconsider our neat and sterile gardening methods. While letting go of rigid organization may seem daunting, it doesn’t have to be! Nature is beautiful, and thus, natural gardens can be too!
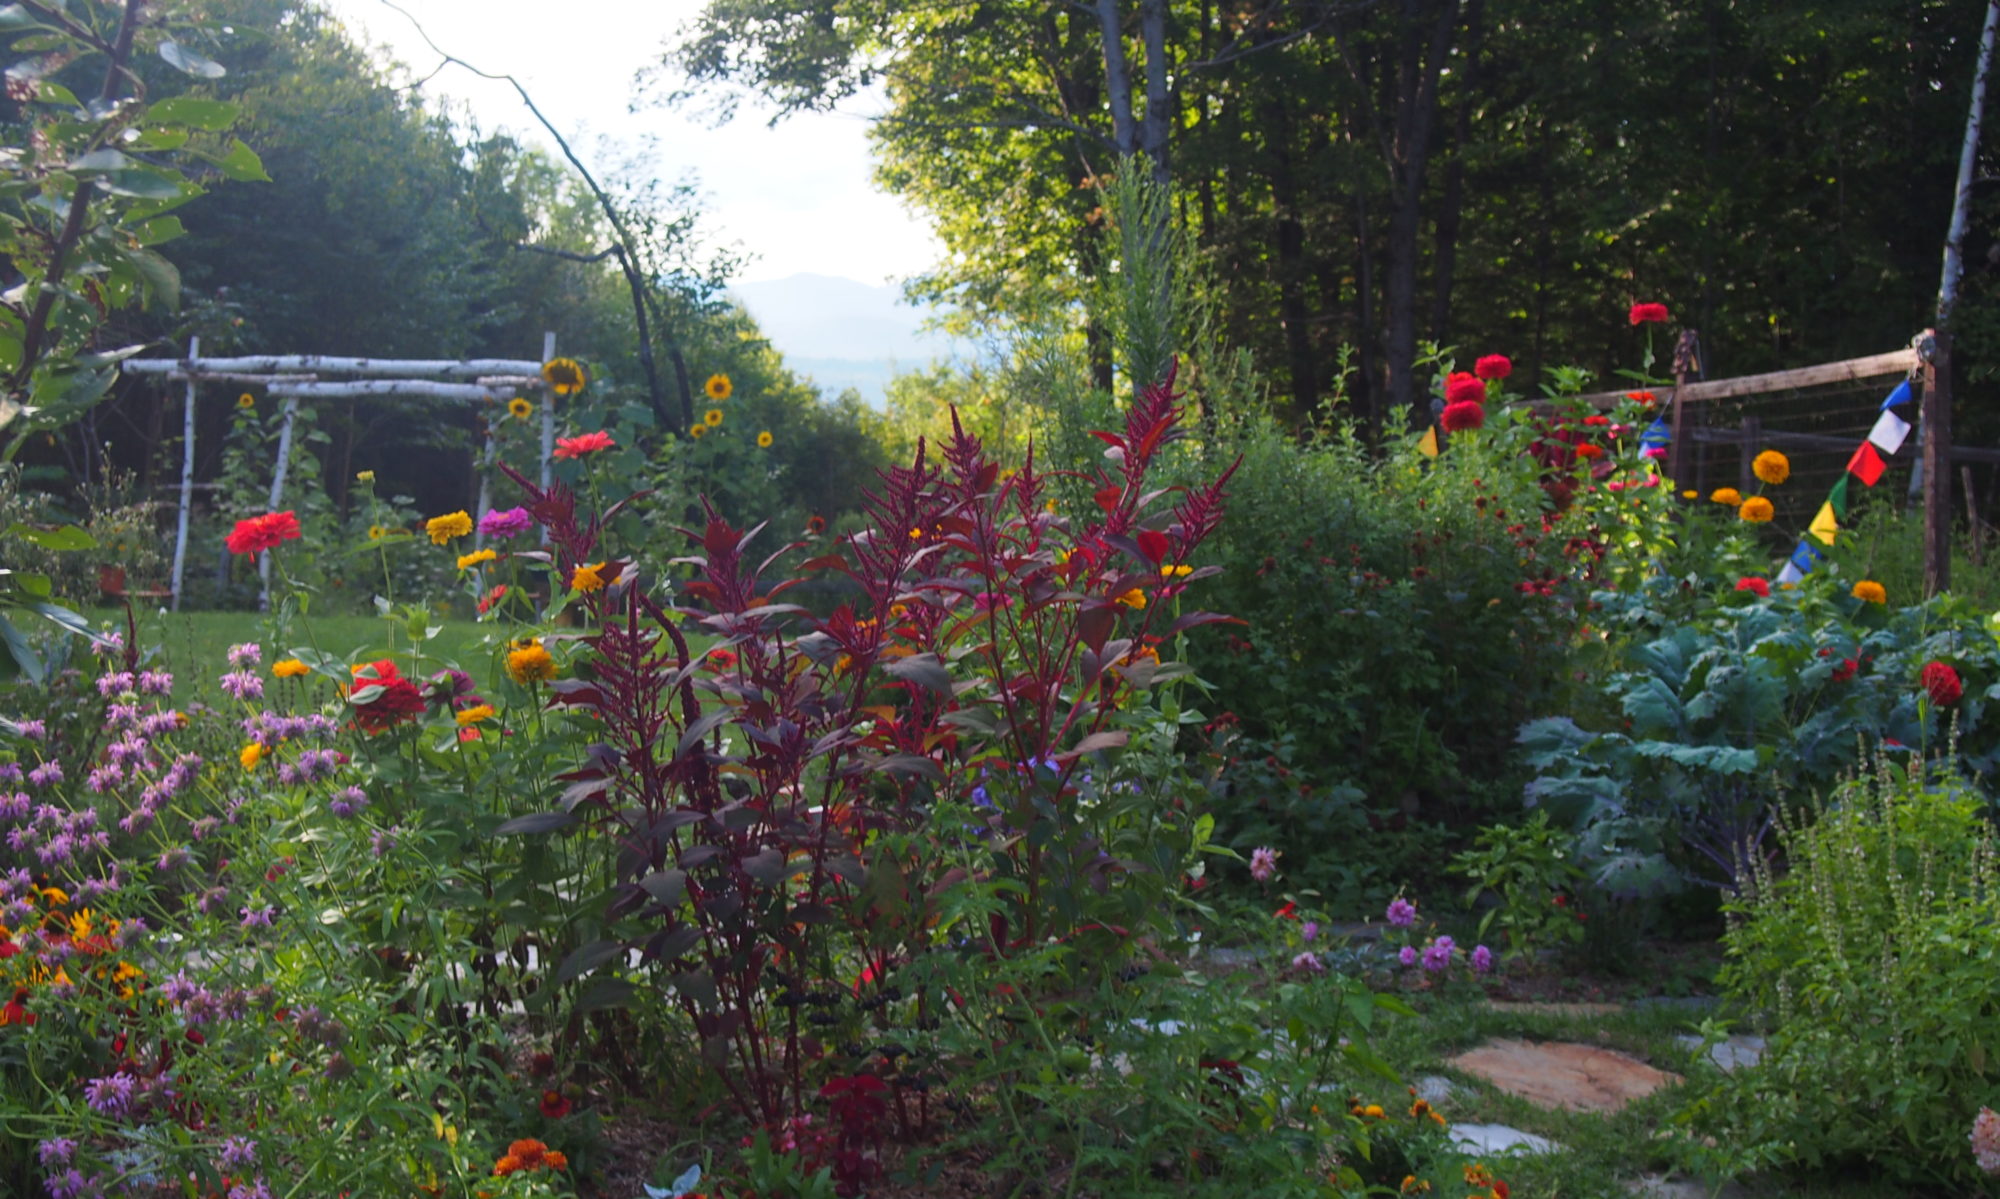
When we began the process of transforming our flat grassy lawn into gardens, we knew we wanted our design to be curved and twisting as well as diverse in species. We envisioned a series of delightfully winding paths with one garden bed flowing seamlessly into the next.

As a focal point for this design, we decided to start by building a large herb spiral. An herb spiral is a beautiful and easy way to incorporate natural shapes into design, while also providing microclimates for different species of herbs to thrive. Adding an herb spiral to your garden design has many benefits; it can add dimension, beauty, and diversity to your gardens. It is space saving, insulating, and increase yields. And of course, it will impress  all of your friends and neighbors. Best of all, building one is much easier than it looks! To help you get started, the following is our step by step process of building and planting our herb spiral.
How to Build an Herb Spiral
- Find your spot! Think about your sunlight, distance from your house, and larger garden design. Ask yourself questions such as; How far am I really willing to walk from my front door to collect a handful of parsley for dinner?

We picked a spot for the spiral right in the center of the lawn-close enough to the front door for convenient access when cooking, but far enough away from the shadow of the house to provide consistent sunlight. We planned to use this spiral as a starting point for a winding series of gardens-building outward and incorporating meandering paths over time.
2. Gather materials: Cardboard, whatever stacking material you choose or happen to have on hand (Bricks, stones, cinder blocks…), and soil/compost/sand
3. Lay your base. We decided on a size based on our lawn size and needs and laid out cardboard where we wanted the spiral to be. Our spiral is about 6 ft in diameter.
4. Next, use your stacking material (ours is mainly bricks and stone we happened to have laying around the yard) and outline your spiral. Lay your material in a spiral shape, starting at the center and working your way outwards.
The spiral should be oriented the way that water drains (clockwise in the northern hemisphere). You also want the bottom of the spiral (the outside edge/entrance) be facing north. When it comes time to plant, this will make it easier to organize plants based on sun, heat, and water preferences.
5. Next its time to stack. To create the gradual increase in height, start at the outside edge of your spiral, skip over the first few bricks, and then add a second row on top of your first.

6. Continue adding rows to the top of your spiral, being sure to skip the first few bricks or stones of the previous row. If you are stacking correctly, your spiral will start to look like it is gradually increasing in height as it goes inward.

Depending on how high you are stacking, the stability of the materials you are using, and how much you have on hand, you may want to stick a few stones on the inside edge to reinforce the structure. Adding soil and ultimately plant roots should help to keep the spiral sturdy as well.
7. Once you have reached your desired height, it is time to add fill. You need quite a bit of material to fill your spiral. We used a combination of soil from our garden and compost. We also added a bit of sand, especially near the top of the deep center, as we are planning to plant several Mediterranean herbs that prefer a sandy soil. You can also add sticks/rotting wood to the bottom of the deepest part if you like. This will eventually break down into nutrient rich material.


*note: if you are using less easily stackable materials (like round stones) it may be easier to add soil as you go…just fill the soil to the current height, then add the next layer, and so forth .
And voila! You have an herb spiral. Only one thing left to do…
8. Get planting! To maximize the benefit of the spirals unique micro-climates, plant top to bottom starting with herbs that prefer the sunniest, warmest, and driest conditions:
 Top of spiral (sunniest, warmest, and driest conditions)-Mediterranean herbs and other herbs that require good drainage and full sun here. Ie Rosemary, Lavender, Thyme, Sage, Aloe, Oregano, Tarragon, lemon grass, mugwart
Middle of spiral (In the middle, a bit more moist and a bit more shade. The south side will be warmer and sunnier, the north cooler and shadier)-Basil, Parsley, Cilantro/Coriander, Sorrel, Borage, Chives, Chamomile, Calendula, Dill, Fennel, bee balm
Bottom of spiral (Wettest part)-mint, lemon balm, sorrel, skullcap, watercress, meadowsweet

“The construct itself gives variable aspects and drainage, with sunny dry sites for oil-rich herbs such as thyme, sage, and rosemary, and moist or shaded sites for green foliage herbs such as mint, parsley, chives, and coriander.”
– Bill Mollison

We would love to help you design your dream garden! Learn more about our services offered or contact us to schedule a consultation.
You must be logged in to post a comment.